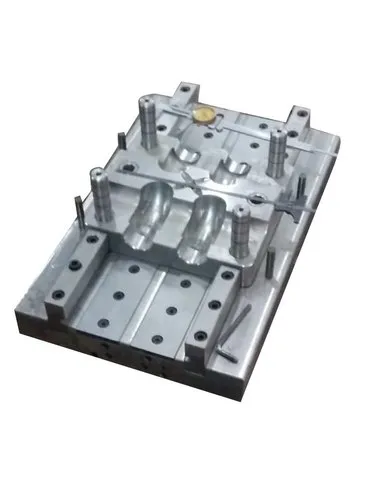
Die assembly is a critical step in the die manufacturing and stamping process. It involves fitting and aligning the various die components accurately to ensure the tool functions as designed during production. Proper die assembly ensures precision, safety, longevity, and quality of the final stamped product. Below is a detailed outline of standard die assembly procedures.
1. Preparation Before Assembly
a. Inspection of Components
Verify that all die components (punches, die blocks, guide pins, bushings, strippers, etc.) are manufactured to specifications.
Check for damage, burrs, or inconsistencies.
Clean all parts to remove dirt, oil, or debris.
b. Gathering Required Tools and Equipment
Assemble necessary tools: torque wrenches, alignment tools, soft mallets, gauges, etc.
Ensure lifting equipment is available for handling heavy parts.
Prepare safety gear: gloves, goggles, and protective clothing.
c. Review of Assembly Drawings
Thoroughly review the die assembly drawings or 3D models.
Identify the assembly sequence and positioning of all components.
2. Die Assembly Process
a. Base Plate Setup
Place the die shoe or base plate on a clean, flat surface or press bed.
Secure the base to prevent movement during assembly.
b. Guide Elements Installation
Install guide pins and bushings with precision to ensure proper alignment.
Verify vertical and parallel alignment using measuring tools.
c. Mounting Die and Punch Components
Begin with lower die components such as die blocks and form inserts.
Position upper die components (punches, punch holders) carefully.
Use dowel pins and bolts to secure each component as per drawing.
d. Strippers and Pressure Pads
Install strippers or pressure pads if used in the die design.
Check for free movement and proper alignment.
e. Fastening and Torqueing
Tighten all bolts and screws according to torque specifications.
Use locking mechanisms (e.g., dowel pins, locking screws) as required.
3. Alignment and Clearance Check
a. Punch-to-Die Clearance
Measure and verify punch-to-die clearance based on material specifications.
Adjust as needed to ensure clean shearing and prevent wear.
b. Shut Height Verification
Set and check the shut height (distance when die is fully closed) per design.
Use shims or spacers for adjustments if necessary.
c. Test Movements
Manually simulate the die operation to check for smooth movement.
Verify that all moving components operate without interference.
4. Trial Run and Final Inspection
a. Trial Run (Dry Run)
Perform a dry run on a press without material to verify motion and clearance.
Listen for unusual noises or resistance.
b. Trial with Material
Run a small batch of material to test actual forming/cutting.
Inspect parts for burrs, misalignment, or deformation.
c. Final Adjustments
Make any final tuning or alignment changes.
Retest if necessary to ensure accuracy.
5. Documentation and Storage
a. Assembly Report
Document torque values, clearances, shut height, and other critical parameters.
Note any deviations or adjustments made during assembly.
b. Storage/Installation
If die is not being immediately used, store in a clean, dry area.
Apply protective coatings or covers to prevent corrosion or damage.
Safety Considerations
Always follow safety protocols during assembly.
Use lifting equipment for heavy components to avoid injury.
Ensure all components are properly secured before press testing.
Conclusion
Proper die assembly ensures optimal tool performance, reduces downtime, and extends die life. Attention to detail, adherence to design specifications, and systematic checks are key to a successful assembly process.