Warpage is a common defect in injection molded parts, characterized by distortion or deformation from the intended shape after ejection from the mould. It can significantly affect dimensional accuracy, aesthetic quality, and functional performance. One of the most effective ways to minimize warpage is through intelligent mould design.
This section outlines how mould design strategies can be optimized to control and reduce warpage.
1. Understanding Warpage
Warpage typically results from uneven shrinkage during the cooling phase. Contributing factors include:
Non-uniform cooling
Material anisotropy
Uneven wall thickness
Residual stresses
Inappropriate gate location or type
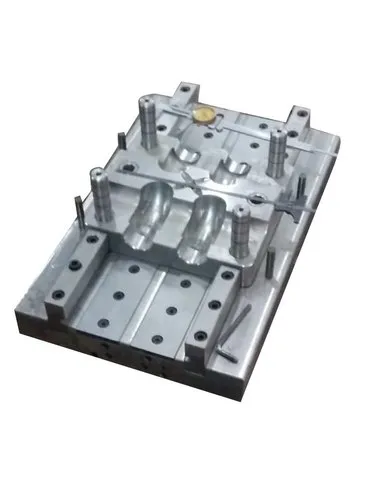
2. Key Mould Design Strategies for Warpage Control
2.1. Optimized Cooling System Design
Cooling plays a critical role in warpage control:
Uniform Cooling Channels: Ensure consistent temperature distribution by placing cooling channels equidistant from all sections of the mould.
Conformal Cooling: Use 3D-printed or contoured cooling channels to follow the part geometry, especially in complex parts.
Balanced Cooling Circuits: Avoid hot spots and differential cooling by designing symmetrical and balanced circuits.
Tip: Use thermal simulation during mould design to detect potential hot/cold spots.
2.2. Uniform Wall Thickness
Varying wall thicknesses lead to uneven shrinkage, which causes warpage.
Design parts with consistent wall thickness wherever possible.
If thickness variation is necessary, use gradual transitions instead of abrupt changes.
Incorporate ribs or gussets to reinforce thin areas and promote uniform cooling.
2.3. Gate Design and Placement
Gate design affects how the molten material flows and solidifies:
Position gates to fill the mold symmetrically and evenly.
Use multiple gates if necessary to reduce flow length and minimize differential shrinkage.
Select gate types (e.g., edge, fan, pin, hot runner) appropriate for the part geometry and material.
Poor gate location can lead to overpacking in one region and underpacking in another, resulting in uneven shrinkage and warpage.
2.4. Proper Venting
Adequate venting prevents trapped air and uneven packing pressures:
Design vents at the end of flow paths to allow air to escape.
Ensure venting does not allow flash formation.
2.5. Mold Material and Construction
Use high thermal conductivity materials (e.g., beryllium copper inserts) in areas that require faster heat transfer.
Avoid mismatched mold halves or improper alignment that can induce stress during ejection.
Ensure ejector system design does not deform the part during demolding.
2.6. Use of Mold Flow Analysis
Utilize CAE tools (e.g., Moldflow, Moldex3D) during the mould design phase to:
Predict warpage tendencies
Analyze cooling efficiency
Simulate packing pressure distribution
Optimize gate location and flow balance
3. Material Consideration in Mould Design
Different plastics have different shrinkage behaviors:
Semi-crystalline materials (e.g., PP, PA, POM) are more prone to warpage due to higher shrinkage and anisotropy.
Account for material-specific shrinkage rates during cavity design.
Use mould inserts to fine-tune cavity dimensions based on actual shrinkage during trial runs.
4. Summary: Warpage Prevention Checklist in Mould Design
| Design Element | Strategy for Warpage Control |
|---|---|
| Cooling System | Uniform and optimized, possibly conformal |
| Wall Thickness | Uniform, with smooth transitions |
| Gate Design | Balanced placement and appropriate type |
| Venting | Adequate venting at flow ends |
| Mold Material | High conductivity materials, good alignment |
| Mold Flow Analysis | Perform simulations early to identify and fix issues |
| Material Compatibility | Account for material shrinkage and flow properties |