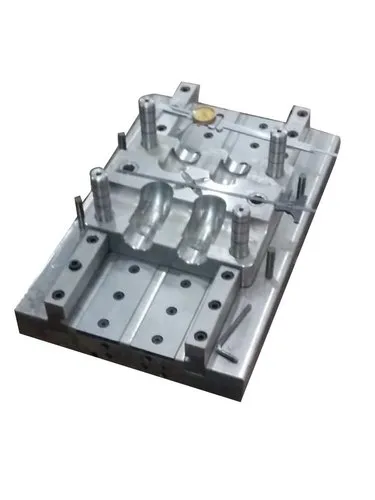
Electronic moulds used for producing housings, connectors, and precision components must meet tight dimensional, electrical, and aesthetic requirements. Faults in mould design, processing, or maintenance can lead to defects that affect product functionality and compliance. Effective troubleshooting and fault analysis help identify root causes, reduce downtime, and improve overall mould performance.
1. Importance of Troubleshooting in Electronic Moulds
Ensures dimensional accuracy and consistent quality
Prevents damage to sensitive electronic components
Reduces rejection rates and production losses
Extends mould life and improves process reliability
Supports compliance with industry standards
2. Common Faults in Electronic Moulds
a) Dimensional Defects
Warpage and shrinkage
Flash formation
Short shots and incomplete filling
Sink marks around ribs and bosses
Possible Causes
Poor mould design or venting
Uneven cooling
Incorrect processing parameters
Material shrinkage mismatch
b) Surface Defects
Flow lines and weld marks
Burn marks
Silver streaks or splay
Scratches or dull surfaces
Possible Causes
Trapped air or moisture
High melt temperature or injection speed
Poor surface finish of mould cavity
Contaminated material
c) Electrical Functionality Issues
Improper fit of embedded terminals
Misalignment of insert-moulded components
Inadequate insulation thickness
Damage to PCB or sensors during moulding
Possible Causes
Inaccurate insert positioning
Excessive injection pressure
Thermal stress on electronic inserts
Poor mould alignment
d) Cooling System Failures
Uneven cooling leading to distortion
Blocked or leaking cooling channels
Overheating of mould
Possible Causes
Scale buildup in cooling lines
Improper coolant flow rate
Poor cooling channel design
e) Ejection Problems
Sticking parts
Ejector pin marks
Component cracking during ejection
Possible Causes
Insufficient draft angles
Uneven ejection force
Worn or misaligned ejector pins
3. Systematic Fault Analysis Approach
Step 1: Problem Identification
Observe defect type, location, and frequency
Review production data and reject history
Step 2: Root Cause Analysis
Apply methods like 5 Whys, Fishbone Diagram, or Pareto Analysis
Analyze mould design, material properties, and processing parameters
Step 3: Verification and Testing
Conduct trial runs with adjusted parameters
Inspect mould components and inserts
Perform dimensional and electrical tests
Step 4: Corrective and Preventive Actions
Modify mould design or process settings
Improve material handling and drying
Schedule preventive maintenance
4. Troubleshooting Techniques
Mould Flow Simulation to predict filling and cooling issues
Thermal Imaging to detect hot spots
Short-shot studies to analyze flow patterns
Process parameter optimization (temperature, pressure, cycle time)
Trial moulding with reference materials
5. Preventive Measures
Regular mould inspection and cleaning
Calibration of temperature and pressure sensors
Proper handling of electronic inserts
Use of high-quality tool steel and surface coatings
Documentation of standard troubleshooting procedures
6. Role of Maintenance and Training
Skilled technicians can quickly identify early fault indicators
Proper training reduces trial-and-error adjustments
Maintenance logs help track recurring issues and long-term trends
7. Conclusion
Troubleshooting and fault analysis in electronic moulds are critical for maintaining precision, reliability, and functional performance. A structured approach that combines technical expertise, data analysis, and preventive maintenance ensures consistent product quality, reduced downtime, and extended mould life in electronic manufacturing environments.