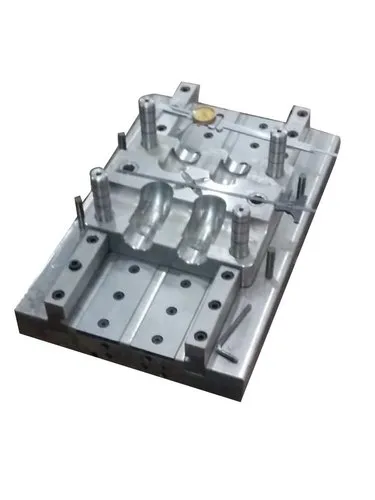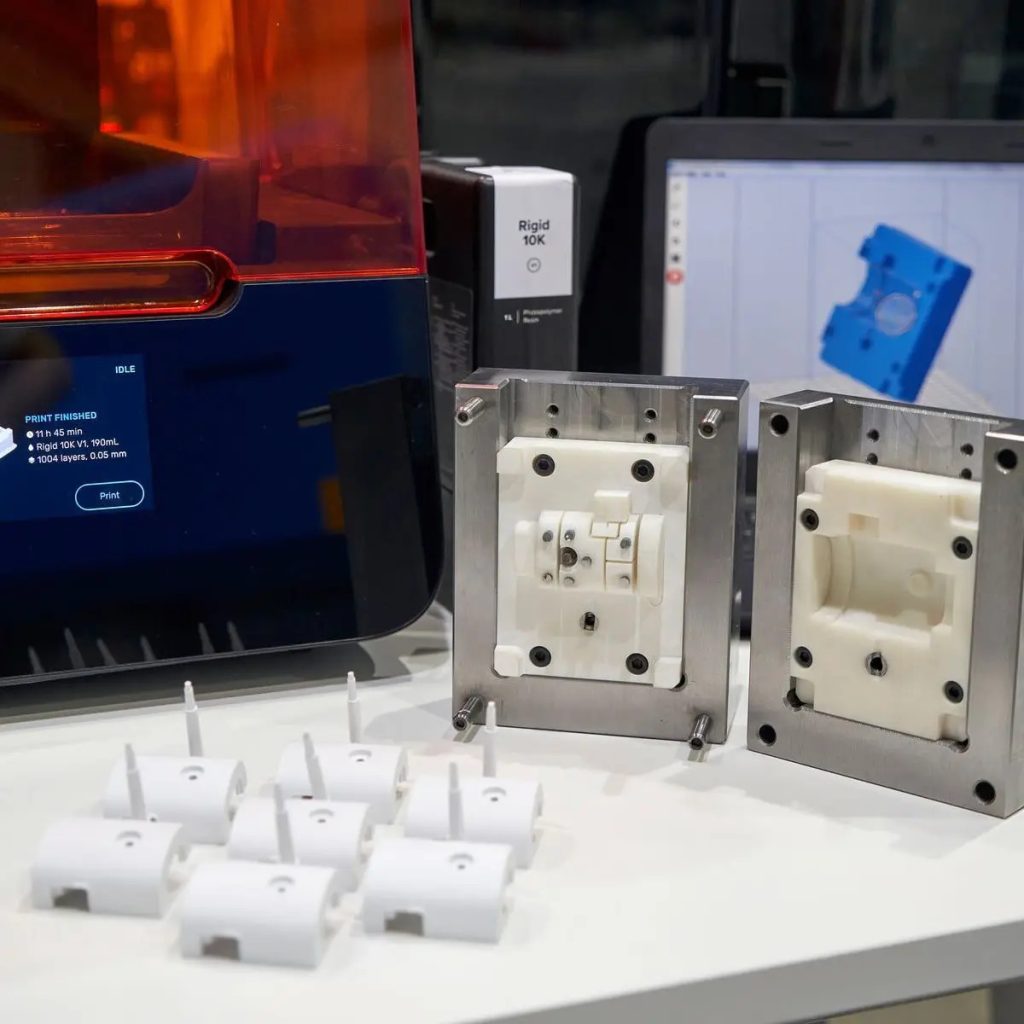
Compression moulding is a manufacturing process in which a measured quantity of material is placed into a heated or unheated mould cavity and compressed under pressure to form a desired shape. Depending on the material, heat may be applied to soften, melt, or cure it.
The process is widely used to produce products with consistent shapes, dimensions, patterns, and surface finishes.
Step-by-Step Compression Moulding Process
1. Material Preparation
The required material is measured according to the size and design of the product. Proper measurement helps maintain consistent product weight and quality.
2. Loading the Mould
The prepared material is placed directly into the mould cavity. The material should be distributed appropriately so that it can fill the cavity during compression.
3. Closing the Mould
The upper section of the mould is brought down onto the lower section. The mould is aligned correctly to ensure that the final product has the desired shape.
4. Applying Pressure
Pressure is applied using a compression press. The force spreads the material throughout the mould cavity and pushes it against the mould surfaces.
5. Heating or Curing
For materials that require heat, the mould is heated to the appropriate temperature. Heat may soften or melt the material or initiate a curing process, depending on the material being moulded.
6. Holding Under Pressure
The material remains compressed for a specified period. This allows it to completely fill the mould cavity and develop the required shape and structure.
7. Cooling
The moulded product is cooled while maintaining its shape. Proper cooling helps prevent deformation and ensures dimensional stability.
8. Opening the Mould
After the required heating, curing, or cooling cycle, the mould is opened carefully.
9. Demoulding
The finished product is removed from the mould. An appropriate release system or ejector mechanism may be used to make removal easier.
10. Finishing
Any excess material, flash, or unwanted edges are removed. The product may then undergo inspection, cleaning, or additional finishing.
Simple Compression Moulding Flow
Material Preparation → Loading → Mould Closing → Compression → Heating/Curing → Holding → Cooling → Demoulding → Finishing → Finished Product
Types of Compression Moulding
1. Hot Compression Moulding
Heat and pressure are applied together to shape or cure the material.
2. Cold Compression Moulding
The material is compressed at a relatively lower temperature and may subsequently undergo curing or another finishing process.
3. Single-Cavity Compression Moulding
Produces one product per moulding cycle.
4. Multi-Cavity Compression Moulding
Contains multiple cavities and can produce several products during one cycle.
Important Factors
The quality of compression-moulded products depends on:
- Material quantity
- Material type
- Mould temperature
- Compression pressure
- Compression time
- Mould design
- Cooling rate
- Release or demoulding method
- Product thickness and shape
Advantages of Compression Moulding
- Simple manufacturing process
- Suitable for various materials
- Can produce detailed shapes and textures
- Good dimensional consistency
- Suitable for customized products
- Can be used for small and large production quantities
- Can provide good surface finishes
Applications
Compression moulding is used for producing rubber components, plastic products, automotive parts, electrical components, industrial products, decorative items, craft products, and certain candle and soap-related products.
Conclusion
Compression moulding works by placing material into a mould cavity and applying controlled pressure, with heat used when required. The material takes the shape of the mould and is then cooled or cured before being removed. Proper control of material quantity, pressure, temperature, and moulding time is essential for producing consistent, high-quality products.