Multi-cavity moulds are widely used in the houseware industry to produce multiple identical products in a single cycle, increasing productivity and reducing per-unit costs. However, designing dies for multi-cavity moulds requires careful attention to several factors to ensure dimensional accuracy, balanced filling, and consistent part quality.
Below are the key design considerations:
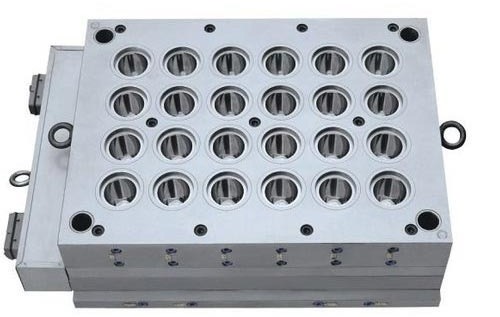
1. Cavity Layout and Balance
Symmetrical Arrangement: The cavities should be laid out symmetrically around the sprue or manifold to ensure uniform flow.
Cavity Count: Choose an even number of cavities to maintain balance and ease of mold flow balancing.
Cavity Spacing: Adequate spacing is required to prevent thermal interference between cavities and to allow sufficient space for ejection mechanisms.
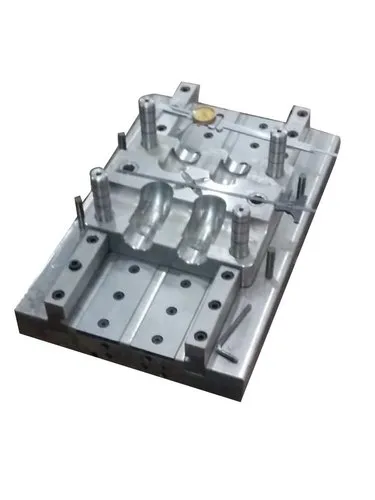
2. Runner and Gate Design
Balanced Runner System: All cavities must receive molten plastic simultaneously. This is typically achieved using a geometrically balanced runner layout (like an H-pattern or spoke design).
Gate Type: Choose appropriate gate types (e.g., pin gate, submarine gate) based on the part geometry and aesthetic requirements.
Runner Size: Optimize cross-sectional area to ensure pressure and flow consistency across all cavities.
3. Mold Cooling System
Efficient Cooling Channels: Uniform cooling is essential to avoid warping or inconsistent shrinkage between cavities.
Conformal Cooling (if applicable): In complex parts, conformal cooling channels (created via additive manufacturing) may improve thermal control.
Water Flow Balance: Ensure all cavities receive equal coolant flow to avoid differential cooling times.
4. Mold Material and Surface Treatment
High-Quality Tool Steel: For durability and wear resistance, especially when producing high volumes.
Surface Finish: Polished surfaces in cavities can help with demolding and improve part appearance.
Hardening and Coating: Use surface treatments like nitriding or PVD coatings to extend tool life, especially in abrasive materials like glass-filled plastics.
5. Venting and Air Traps
Proper Venting: Ensure air can escape from each cavity to prevent short shots or burns.
Micro Vents: Use micro-vents or ejector pin venting at the end of fill to eliminate trapped air effectively.
6. Ejection System
Uniform Ejection: Design for uniform and synchronized ejection across all cavities to avoid part distortion.
Ejector Type: Depending on the part geometry, use pins, sleeves, blades, or stripper plates.
Draft Angles: Adequate draft (1°–3° or more depending on part depth and texture) aids in smooth part release.
7. Mold Alignment and Precision
High Tolerance Machining: Precise alignment between core and cavity halves is critical to avoid flash or mismatch.
Guide Pillars and Bushes: Should be robust and accurately aligned for repeatable closure.
8. Flow Simulation and Mold Analysis
Mold Flow Analysis (CAE Tools): Use simulation software (like Moldflow or Moldex3D) to predict and optimize:
Fill time
Pressure drop
Weld lines
Air traps
Cooling efficiency
This step is crucial for avoiding costly redesigns and ensuring first-time-right tooling.
9. Maintenance and Accessibility
Modular Design: Design moulds for easy maintenance and cavity replacement.
Wear Parts: Ensure components like gates, runners, and ejector systems are easily serviceable.
10. Cost and Production Volume
Initial Cost vs. Lifecycle Cost: Multi-cavity tools are expensive upfront but reduce per-part costs significantly in high-volume production.
Cavity Number Optimization: Must balance between mold size, machine tonnage, cycle time, and part demand.
Conclusion
Designing dies for multi-cavity houseware moulds requires a holistic approach involving material selection, flow balance, thermal management, and precise engineering. A well-designed mould not only enhances product consistency but also ensures long-term productivity, reduced cycle times, and lower production costs. Incorporating advanced simulation and precision manufacturing techniques can greatly improve the success of such tooling projects.