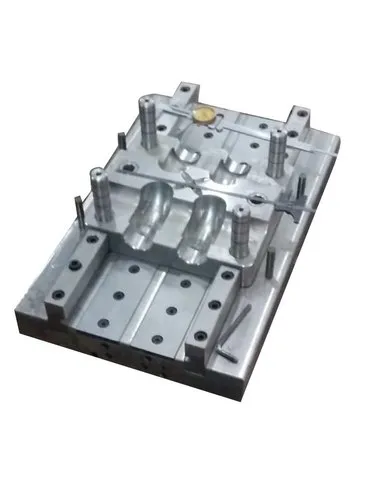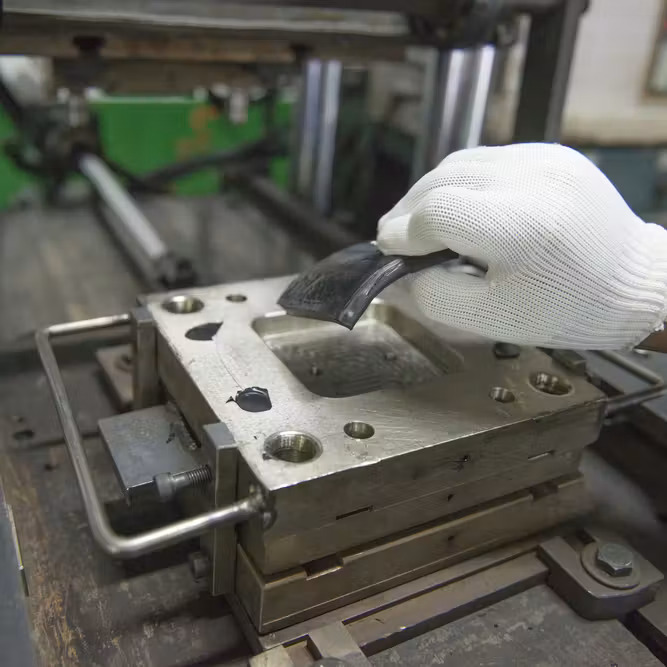
Compression moulding is a manufacturing process in which a measured amount of material is placed into a heated mould cavity and compressed under controlled pressure. Heat and pressure help the material take the shape of the mould and form a finished product.
This process is commonly used for thermosetting plastics, rubber, composite materials, and various industrial components. Understanding each step is important for achieving accurate dimensions, good surface quality, and consistent production results.
Step 1: Material Preparation
The first step is to prepare the material according to the product requirements.
The material may be supplied in the form of:
- Powder
- Granules
- Sheets
- Preforms
- Dough-like compounds
- Pre-measured pieces
The correct quantity of material should be measured for each mould cavity. Proper measurement helps reduce material wastage and ensures consistent product weight.
Step 2: Mould Preparation
Before production begins, the mould is cleaned and inspected.
The operator checks:
- Mould cavity and core
- Surface condition
- Alignment
- Vents
- Heating system
- Release-agent condition
- Moving components
A suitable mould-release agent may be applied when required. This helps prevent the finished product from sticking to the mould surface.
Step 3: Preheating the Mould
The mould is heated to the required processing temperature.
Heating is important because it allows the material to soften, flow, cure, or solidify correctly depending on the type of material being processed.
The required temperature depends on:
- Material type
- Product design
- Mould material
- Product thickness
- Required curing time
Temperature should be controlled carefully because excessive heating can cause defects, while insufficient heating can result in incomplete forming or curing.
Step 4: Loading the Material
The prepared material is placed into the mould cavity.
For multi-cavity moulds, the material should be distributed properly in each cavity to maintain consistent product weight and filling.
Correct material placement is important because uneven distribution can lead to:
- Incomplete filling
- Uneven thickness
- Air pockets
- Surface defects
- Weight variation
Step 5: Closing the Mould
After loading the material, the upper part of the mould is brought down toward the lower part.
As the mould closes, the material is positioned between the mould surfaces.
The mould should close properly and remain correctly aligned throughout the process.
Step 6: Applying Pressure
Pressure is applied after the mould is closed.
The pressure forces the material to spread throughout the mould cavity and conform to the required shape.
The pressure required depends on factors such as:
- Material characteristics
- Product size
- Product thickness
- Mould design
- Number of cavities
- Required product density
Proper pressure helps produce uniform and accurately formed products.
Step 7: Heating and Curing
During compression, heat is maintained at the required level.
Depending on the material, the heat may cause the material to:
- Soften and flow
- Melt partially
- Cure
- Harden
- Bond together
- Set into the required shape
For thermosetting materials, curing is particularly important because the material undergoes a chemical change and becomes permanently hardened.
The required curing time depends on the material and product specifications.
Step 8: Holding Pressure
Pressure is maintained for a specified period while the material completes its forming or curing process.
Holding pressure helps prevent problems such as:
- Voids
- Shrinkage
- Incomplete filling
- Dimensional variation
- Surface imperfections
The correct combination of pressure, temperature, and time is essential for producing consistent results.
Step 9: Cooling
After forming or curing, the product may need to be cooled while still inside the mould.
Cooling allows the product to stabilize and retain its shape.
Cooling may be achieved through:
- Natural cooling
- Water-cooled mould systems
- Air cooling
- Controlled cooling cycles
The cooling method depends on the material and mould design.
Step 10: Opening the Mould
Once the required forming, curing, and cooling stages are completed, the mould is opened.
The upper mould section moves away from the lower section, exposing the finished product.
Care should be taken during mould opening to avoid damaging the product or mould surface.