Overmoulding is a manufacturing process in which one material is moulded over or around an existing component to create a single combined product. The first component, known as the substrate, is placed into a mould, and a second material is then injected or moulded over it.
Overmoulding is commonly used to improve product grip, comfort, appearance, durability, sealing, and functionality. It is widely used in automotive parts, electrical components, medical devices, tools, household products, and consumer goods.
1. Preparing the Substrate
The first step is to prepare the base component, also known as the substrate. This component forms the foundation of the final overmoulded product.
The substrate may be made from materials such as:
- Rigid plastic
- Metal
- Rubber
- Other suitable mouldable materials
The substrate should be checked for correct dimensions, surface condition, cleanliness, and defects. Its material must be compatible with the overmoulding process and the second material.
2. Cleaning and Surface Preparation
The substrate surface is prepared to support proper bonding or mechanical attachment with the overmoulded material.
Preparation may include:
- Removing dust, oil, and other contaminants
- Drying the substrate when required
- Applying a suitable surface treatment
- Creating grooves, holes, or other mechanical locking features, if needed
The exact preparation method depends on the materials and product design. Some material combinations bond directly, while others require mechanical interlocking or an additional bonding method.
3. Selecting the Overmoulding Material
The second material is selected according to the required product performance.
Common overmoulding materials include:
- Thermoplastic elastomers (TPE)
- Thermoplastic polyurethane (TPU)
- Silicone rubber
- Soft-touch plastics
- Other compatible thermoplastics and elastomers
The material should be suitable for the substrate and the intended operating conditions. Important factors include flexibility, hardness, temperature resistance, chemical resistance, colour, and bonding properties.
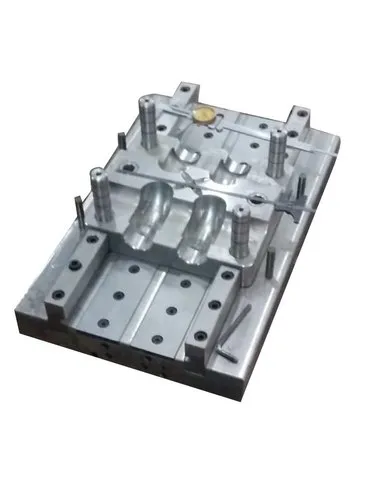
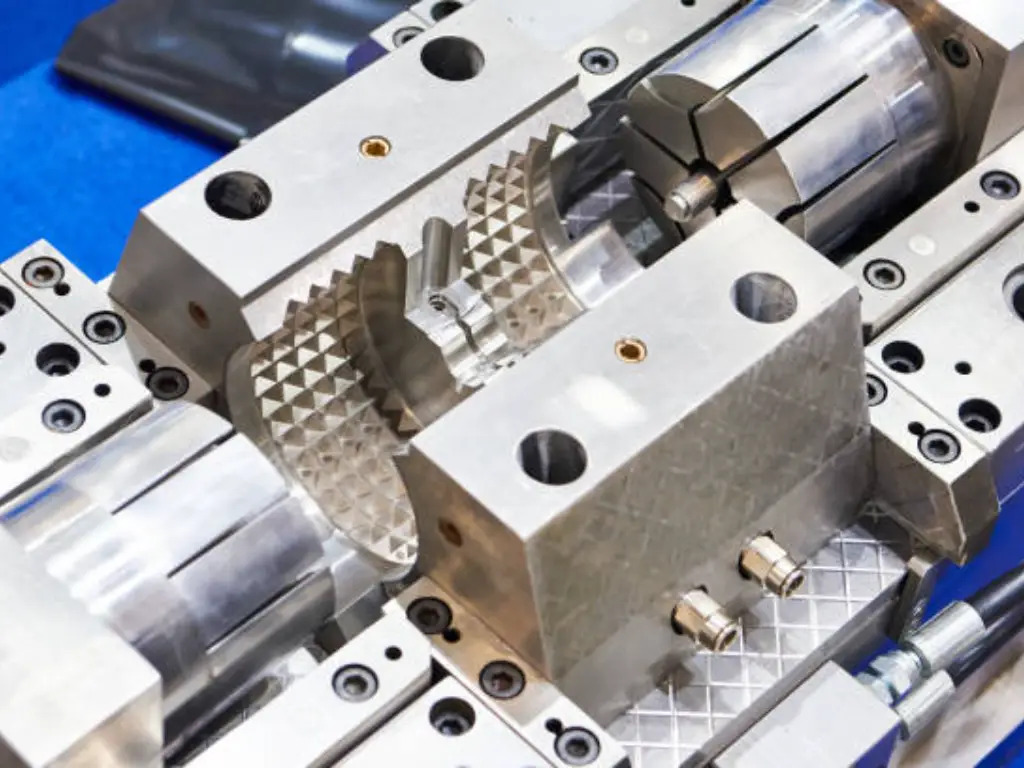
4. Preparing the Mould
The mould is designed to hold the substrate in the correct position while the second material is introduced.
The mould may include:
- A cavity for the overmoulded material
- Locating features for the substrate
- Clamping or support features
- Injection channels and gates
- Cooling channels
- Venting arrangements
- Ejection mechanisms
Proper mould design helps prevent substrate movement, material leakage, incomplete filling, and other production defects.
5. Placing the Substrate into the Mould
The prepared substrate is positioned inside the mould cavity.
Depending on the manufacturing setup, placement may be performed manually, using a robot, or through an automated transfer system.
The substrate must be aligned correctly and held securely during mould closing and material injection. Incorrect positioning can result in uneven overmoulding, poor appearance, or dimensional problems.
6. Closing the Mould
Once the substrate is positioned, the mould is closed and clamped.
The mould halves must align correctly to form the required cavity around the substrate. Proper clamping helps prevent material leakage and maintains the required product dimensions.
7. Melting and Preparing the Overmoulding Material
For injection overmoulding, the second material is fed into the injection unit, where it is heated and prepared for injection.
The material is processed according to its recommended temperature and handling requirements. Some materials may require drying before processing to reduce moisture-related defects.
Temperature, material flow, and processing conditions should be controlled carefully.
8. Injecting the Material
The prepared material is injected into the mould cavity under controlled pressure.
It flows around the substrate and fills the space designed for the overmoulded layer.
The injection conditions depend on:
- Material properties
- Substrate design
- Overmould thickness
- Mould geometry
- Gate location
- Product dimensions
Proper filling helps create a uniform layer and reduces the risk of short shots, air pockets, and other defects.
9. Bonding and Material Integration
As the overmoulding material contacts the substrate, the two materials may bond through heat, material compatibility, chemical adhesion, or mechanical interlocking.
The strength of the connection depends on the material combination, surface preparation, temperature, pressure, and mould design.
Not all materials form a strong direct bond. In some applications, the product relies on mechanical locking features rather than chemical adhesion.
10. Cooling or Curing
After the mould cavity is filled, the overmoulded material is cooled or cured as required.
For thermoplastics, cooling allows the material to solidify and retain its shape. For certain thermosetting or silicone materials, curing may be required to achieve the final properties.
Controlled cooling or curing helps reduce shrinkage, warping, internal stress, and dimensional variation.
11. Opening the Mould
Once the material has sufficiently cooled or cured, the mould is opened.
The finished component remains in the appropriate mould half or is released by the designed ejection system.
Mould opening should be controlled to avoid damaging the substrate or the overmoulded layer.
12. Removing the Finished Product
The overmoulded component is removed from the mould.
Removal may be done manually or through automated ejectors or robotic handling systems.
Care should be taken to prevent damage, deformation, or separation between the substrate and the overmoulded material.
13. Trimming and Finishing
After demoulding, the product may require additional finishing.
Common finishing operations include:
- Removing excess material or flash
- Trimming gates and runners
- Cleaning the surface
- Smoothing edges
- Checking the appearance
- Performing any required secondary operations
The amount of finishing depends on the mould design and product requirements.
14. Quality Inspection
The finished product is inspected to ensure that it meets the required quality standards.
Important inspection points include:
- Overall dimensions
- Overmould thickness
- Material coverage
- Surface finish
- Colour consistency
- Bonding strength
- Flexibility or hardness
- Cracks, bubbles, or voids
- Flash or incomplete filling
- Substrate alignment
Depending on the product, manufacturers may also conduct adhesion, mechanical, environmental, or functional tests.
Overmoulding Process Flow
Substrate Preparation → Cleaning → Material Selection → Mould Preparation → Substrate Loading → Mould Closing → Material Melting → Injection → Bonding or Mechanical Integration → Cooling or Curing → Mould Opening → Product Removal → Finishing → Quality Inspection
Types of Overmoulding
1. Soft-Touch Overmoulding
A soft or flexible material is moulded over a rigid component to improve grip, comfort, or handling.
Applications: Tool handles, toothbrush grips, and consumer products.
2. Two-Material Overmoulding
Two different materials are combined in one product to provide different physical or functional properties.
Applications: Multi-material handles, household items, and automotive components.
3. Insert Overmoulding
A pre-made insert, such as a metal or plastic component, is placed into a mould and covered with another material.
Applications: Electrical connectors, threaded components, and mechanical parts.
4. Protective Overmoulding
An additional material layer is moulded around a component to provide protection against impact, moisture, vibration, or wear, where the material and design support these functions.
Applications: Electronic housings, cable connectors, and industrial components.
Advantages of Overmoulding
- Combines different materials in one product
- Can improve grip and user comfort
- Supports attractive, multi-colour designs
- Can reduce the need for separate assembly
- May improve impact protection and wear resistance
- Can provide sealing or insulation when properly designed
- Allows functional and decorative features to be integrated
Common Defects in Overmoulding
| Defect | Possible Cause |
|---|---|
| Poor bonding | Incompatible materials or inadequate surface preparation |
| Material separation | Insufficient adhesion or weak mechanical locking |
| Short shot | Insufficient material, pressure, or flow |
| Flash | Excessive material, poor mould fit, or insufficient clamping |
| Air bubbles or voids | Trapped air, moisture, or unsuitable processing conditions |
| Warping | Uneven cooling or material shrinkage |
| Substrate movement | Incorrect positioning or inadequate support |
| Surface marks | Contamination or mould-surface issues |
Applications of Overmoulding
Overmoulding is used in a wide range of industries, including:
- Automotive components
- Electrical connectors
- Medical and healthcare devices
- Hand tools
- Household products
- Consumer electronics
- Packaging components
- Industrial equipment
- Sports and fitness accessories
Conclusion
Overmoulding is a versatile manufacturing process that combines two or more materials into a single component. The process involves preparing the substrate, selecting compatible materials, positioning the component in the mould, injecting the second material, and allowing it to cool or cure before finishing and inspection.
Successful overmoulding depends on material compatibility, substrate preparation, mould design, accurate positioning, and controlled processing conditions. When these factors are managed correctly, overmoulding can produce durable, functional, and visually appealing products with integrated features.